High Performance GPU Usage.
On systems with multiple GPUs, the Windows operating system will often select the low power GPU for rendering 3D content. This can lead to significantly degraded performance when viewing 3D scenes with complex geometry and animations.
This guide explains how to update the system settings to force web browsers to use the high performance GPU.
How To Configure.
OS Version: Windows 11 | Windows 10
- Open the Start menu and search for "Settings" to open the system's Settings application.
- Search for "Graphics settings" and open the first result.
-
In the "Custom settings for applications" section, click the "Add desktop app" button.
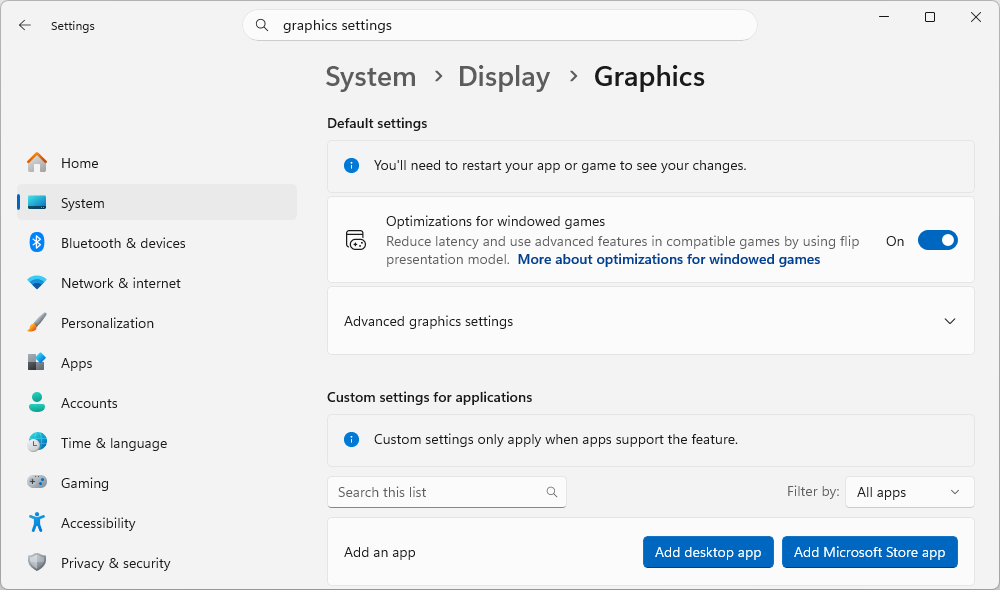
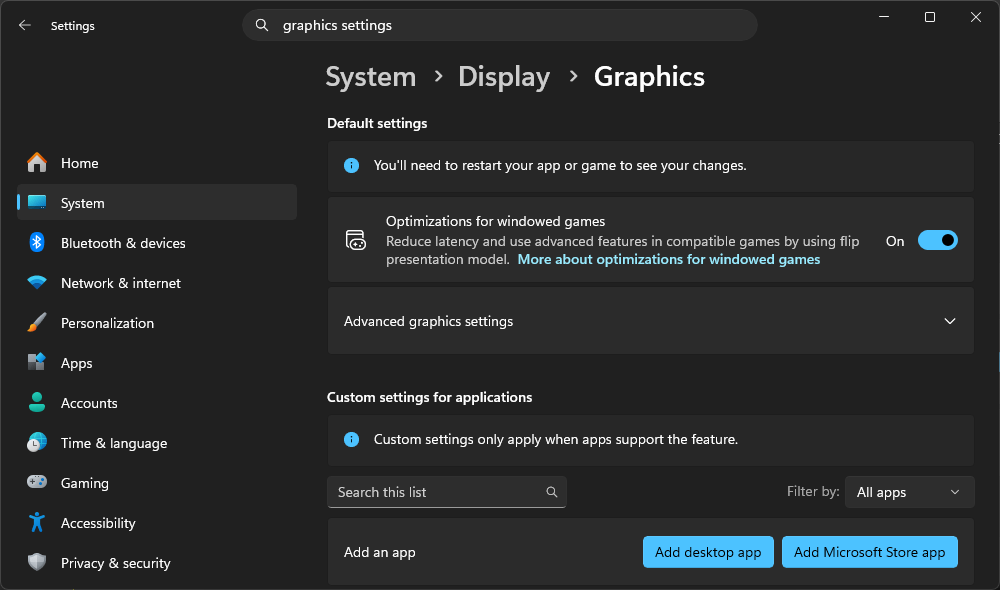
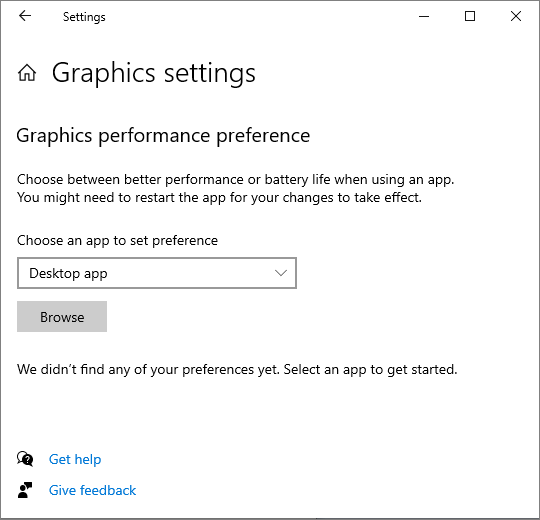
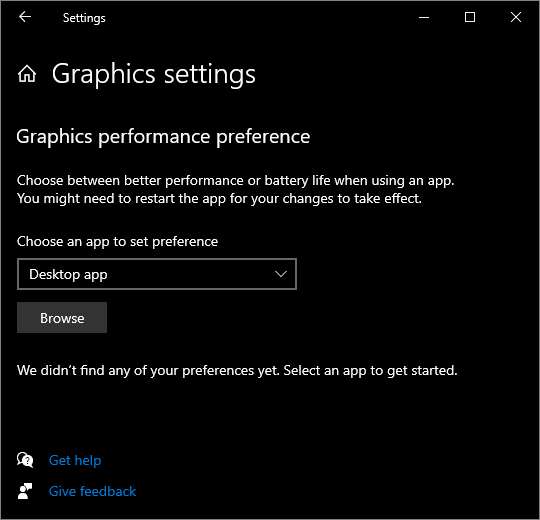
Click the "Browse" button underneath the label "Choose an app to set preference" with "Desktop app" selected.
-
In the file browser dialog that opens, navigate to the path of the web browser that you'd like to configure. Install paths for some commonly used web browsers are listed below:
-
Edge:
C:\Program Files (x86)\Microsoft\Edge\Application\msedge.exe -
Chrome:
C:\Program Files\Google\Chrome\Application\chrome.exe -
Firefox:
C:\Program Files\Mozilla Firefox\firefox.exe
-
Edge:
-
Once the application has been selected, find the entry in the list below corresponding to the application that was added.
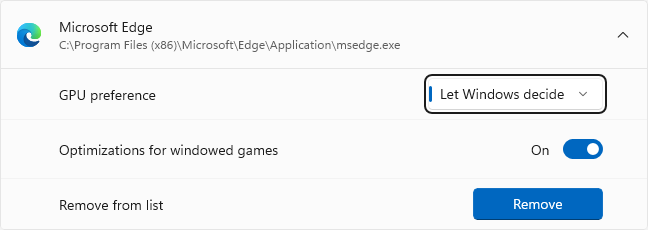
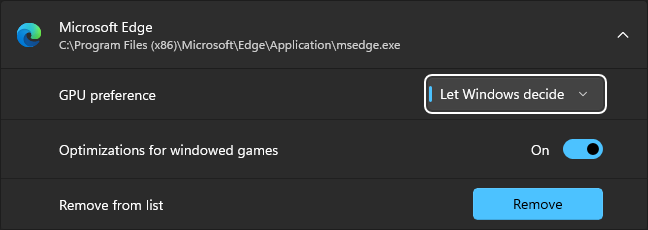
Once the application has been selected, find the entry in the list below corresponding to the application that was added.
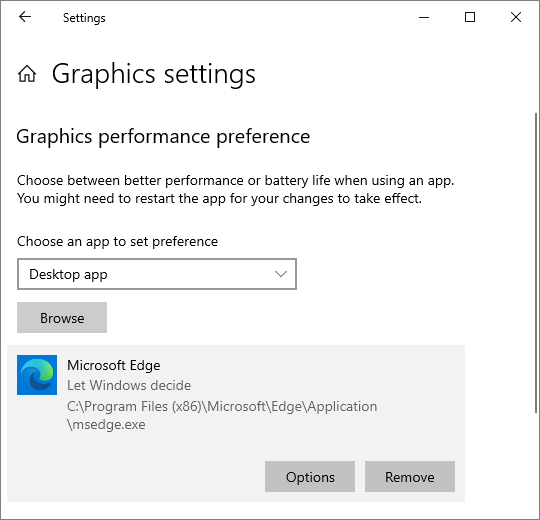
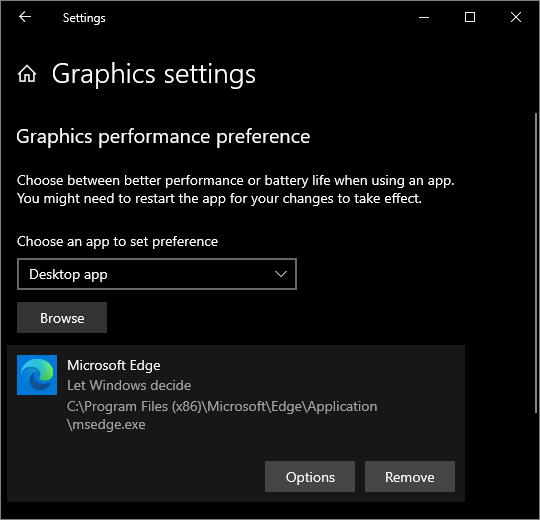
-
For the "GPU preference" option, change this from "Let Windows decide" to the "High Performance" option.Click the "Options" button and then select the "High performance" option in the Graphics preference dialog that appears.
- Finally, close all web browser windows and re-launch the application. Any applications which use 3D rendering should now have improved performance.